Have you ever wondered what the process is behind a decorative art project? I thought I would document a larger project from start to finish to share what a decorative artist really does.


Things are coming together for the trellis edging....now, on to the large panels.

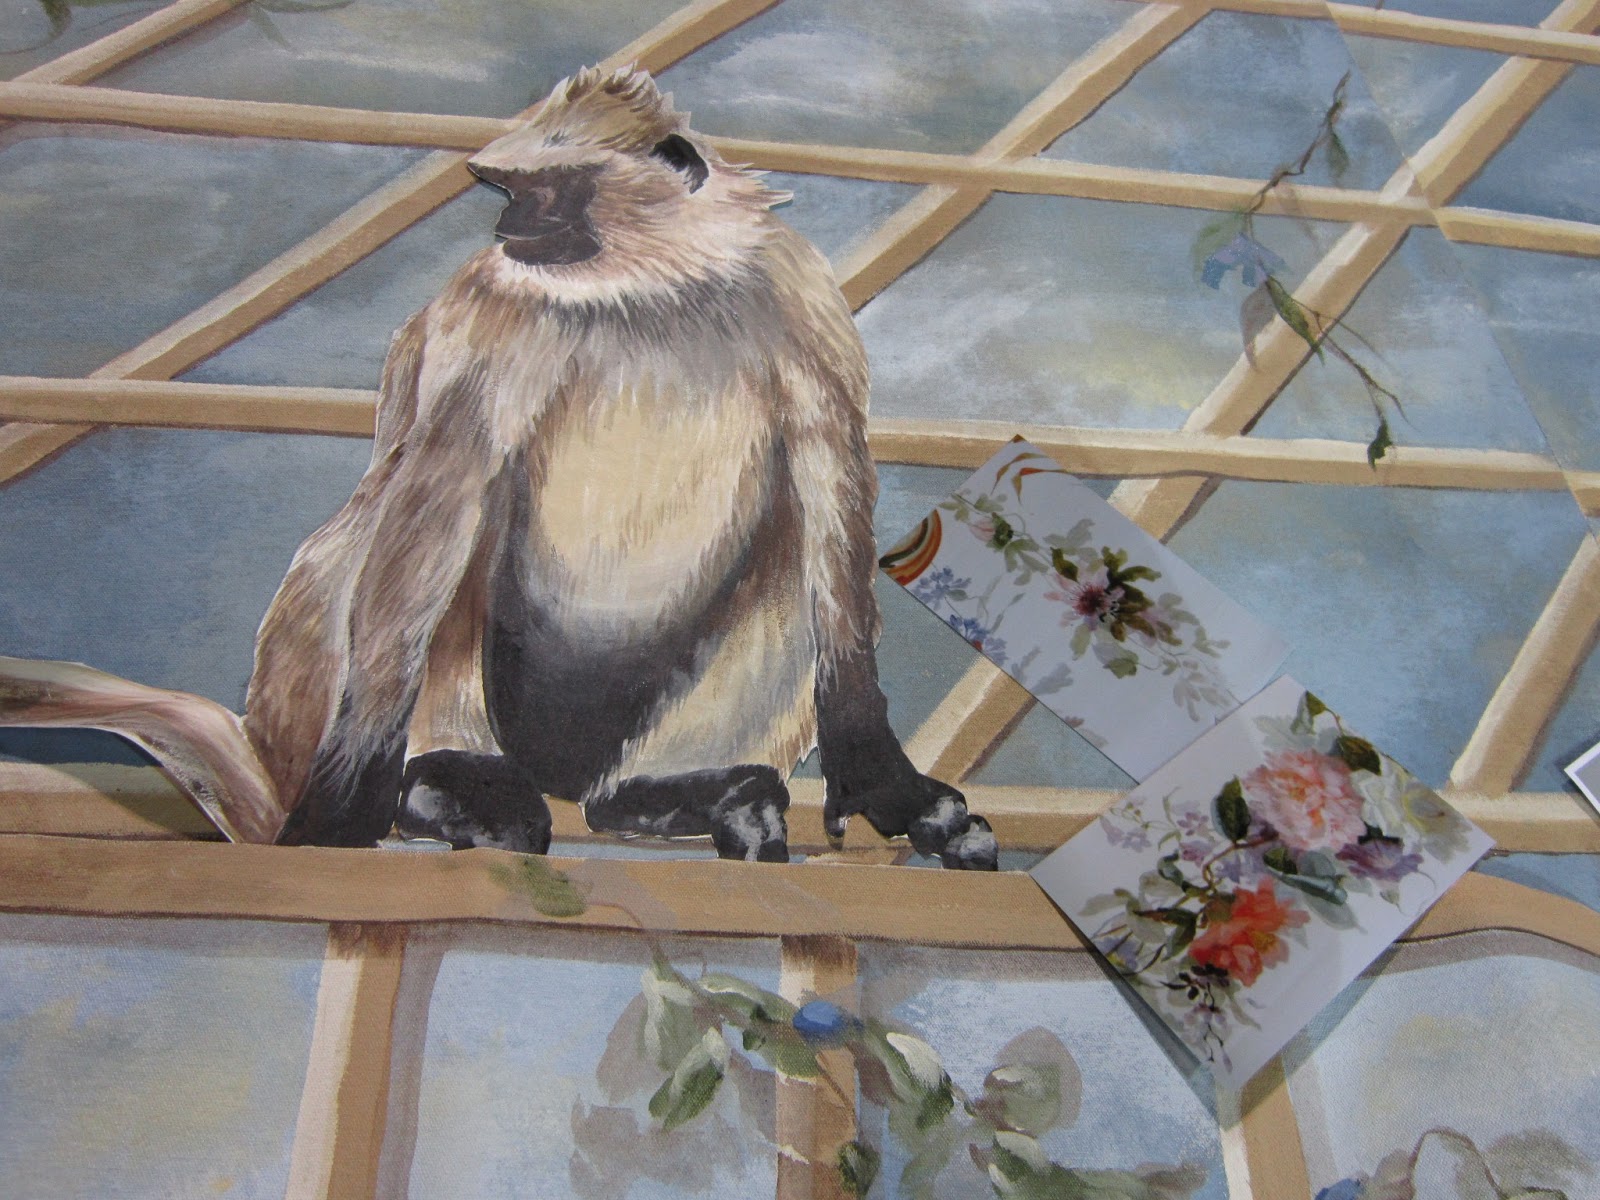
Taping and sky was done the same as the banding. The ceiling of the folly is made up of seven angled panels butted together .I had to figure out this jigsaw on the ground , in reverse and make all the lines in the trellis match from panel to panel....ahem...

Vines, flowers, shading and highlights were added...all done in a workshop in the dead of winter with me wearing three layers of clothes...common practice for a decorative artist!

Hatch-back, SUV vehicle is a must! Panels were delivered and installed by a carpenter. Crown molding, trim and one chandelier later, and it was time for me to add the final details!

The folly is part of a garden maze of other wonderful architectural design. This was the first time for me to see the panels installed.

The seams matched! Color and sky gave the illusion desired! Time to add some details.


Fill in the seams, one more coat of sealant, and it is on to the next project.....


.JPG)


12 comments:
Really good post! I remember in days gone by we would paint this right on the ceiling! Neck wrenching work!!! I love that you show hoe to go about this.. it is a lot of work! Nice Job! :)Karen
amazing work! Just getting every panel to fit with the one next to it is mind boggling! Bravo.
Thanks guys! Yes, I would just so thrilled the *&%# panels fit! LOL! The math worked!
Wow Theresa! That's amazing, I can't even imagine trying to figure it all out backwards. Excellent!!
Dear Theresa, You are amazing! I am so glad that you shared every detail of how you achieved this complex work of art. It is a masterpiece. Ycur clients are the happy and grateful recipients.
I love this so much Theresa. Great pictures of the progression as well!
Love this project Theresa!!!!
Dear Theresa,
I can appreciate the thought, measuring and remeasuring that went into this! Thanks for sharing the stages of this project, and congratulations on a handsome finished product — it's time to start calling you Maestro!
looks so serene... nice design and beautiful job Theresa
Theresa, It's delightful and beautiful. Hope the "Next project" was a celebratory drink and dinner and massage.
Simply amazing, you are a Michelangelo of our times (Leonardo included)! To be able to paint this off location makes it even more astonishing, to imagine how it would like once it's high up on the ceiling, breathtaking thought!
Gobsmacked, I am. Breathless that the x-rated math worked. You had me at the monkey!
Post a Comment