Have you ever wondered what the process is behind a decorative art project? I thought I would document a larger project from start to finish to share what a decorative artist really does.


Things are coming together for the trellis edging....now, on to the large panels.

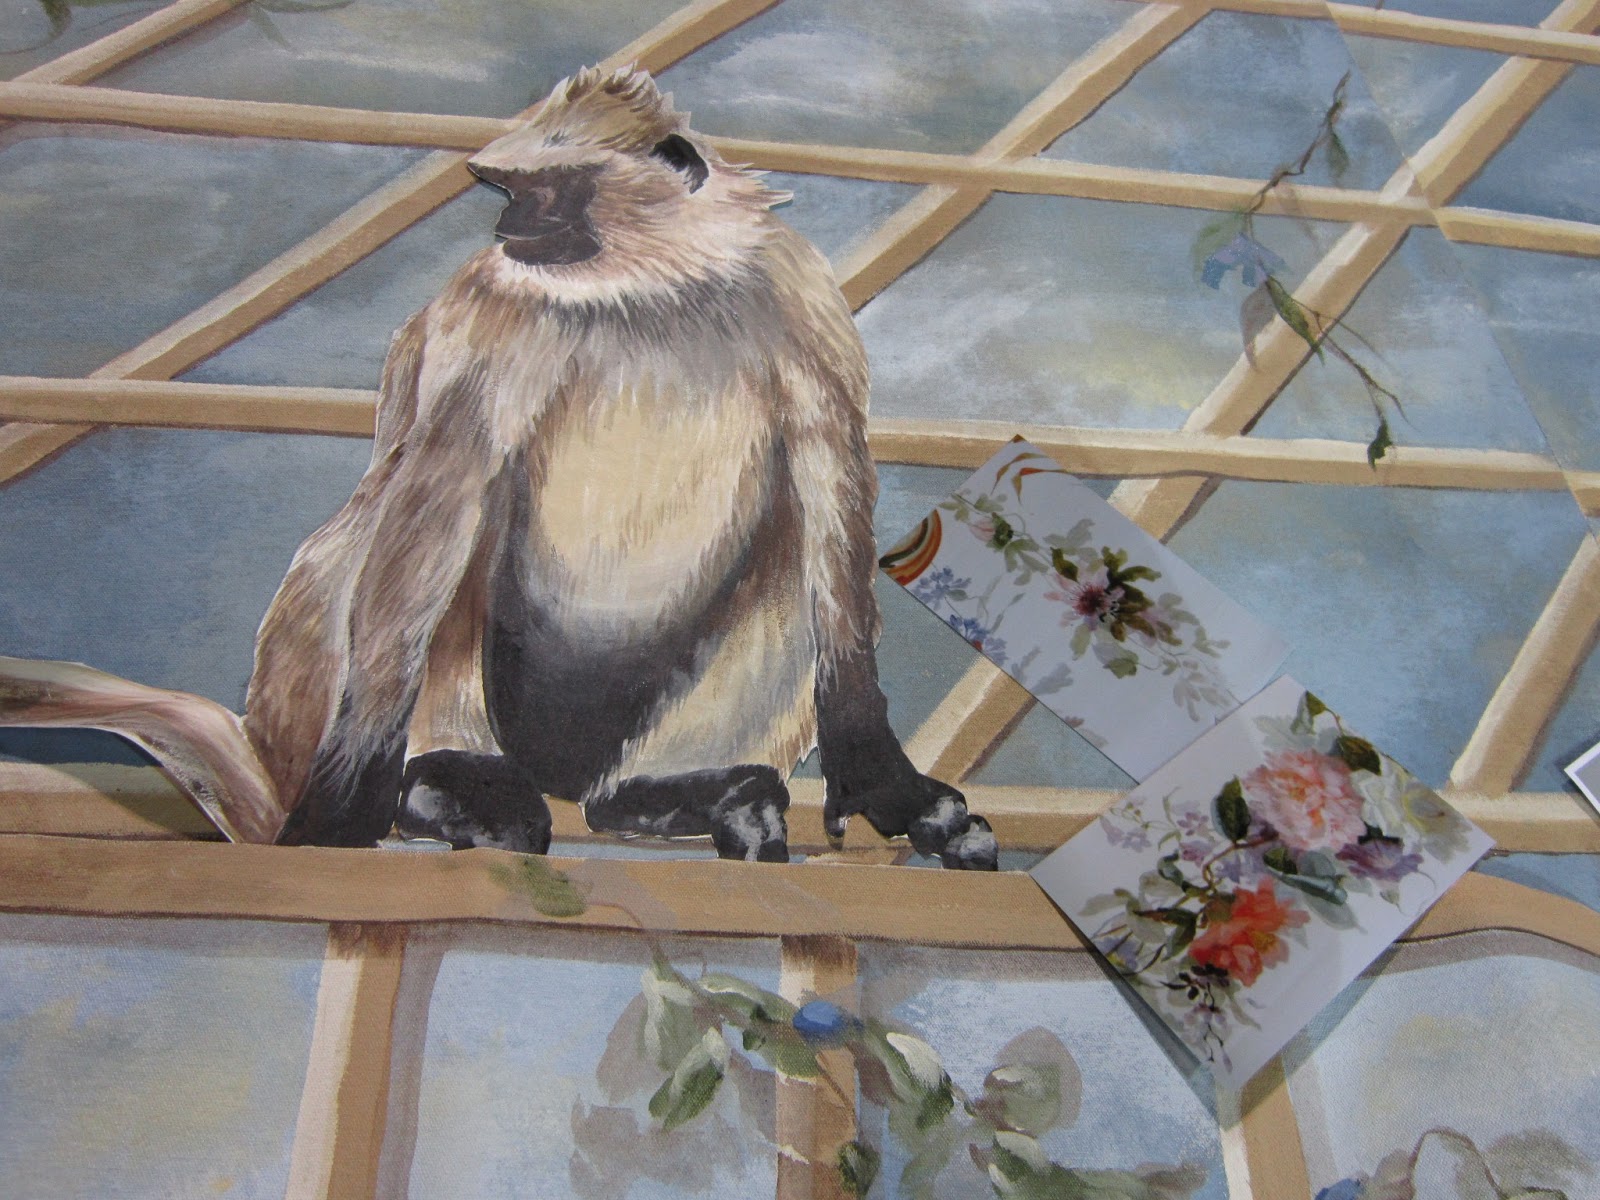
Taping and sky was done the same as the banding. The ceiling of the folly is made up of seven angled panels butted together .I had to figure out this jigsaw on the ground , in reverse and make all the lines in the trellis match from panel to panel....ahem...

Vines, flowers, shading and highlights were added...all done in a workshop in the dead of winter with me wearing three layers of clothes...common practice for a decorative artist!

Hatch-back, SUV vehicle is a must! Panels were delivered and installed by a carpenter. Crown molding, trim and one chandelier later, and it was time for me to add the final details!

The folly is part of a garden maze of other wonderful architectural design. This was the first time for me to see the panels installed.

The seams matched! Color and sky gave the illusion desired! Time to add some details.


Fill in the seams, one more coat of sealant, and it is on to the next project.....